Photography Processes

Step 1: import
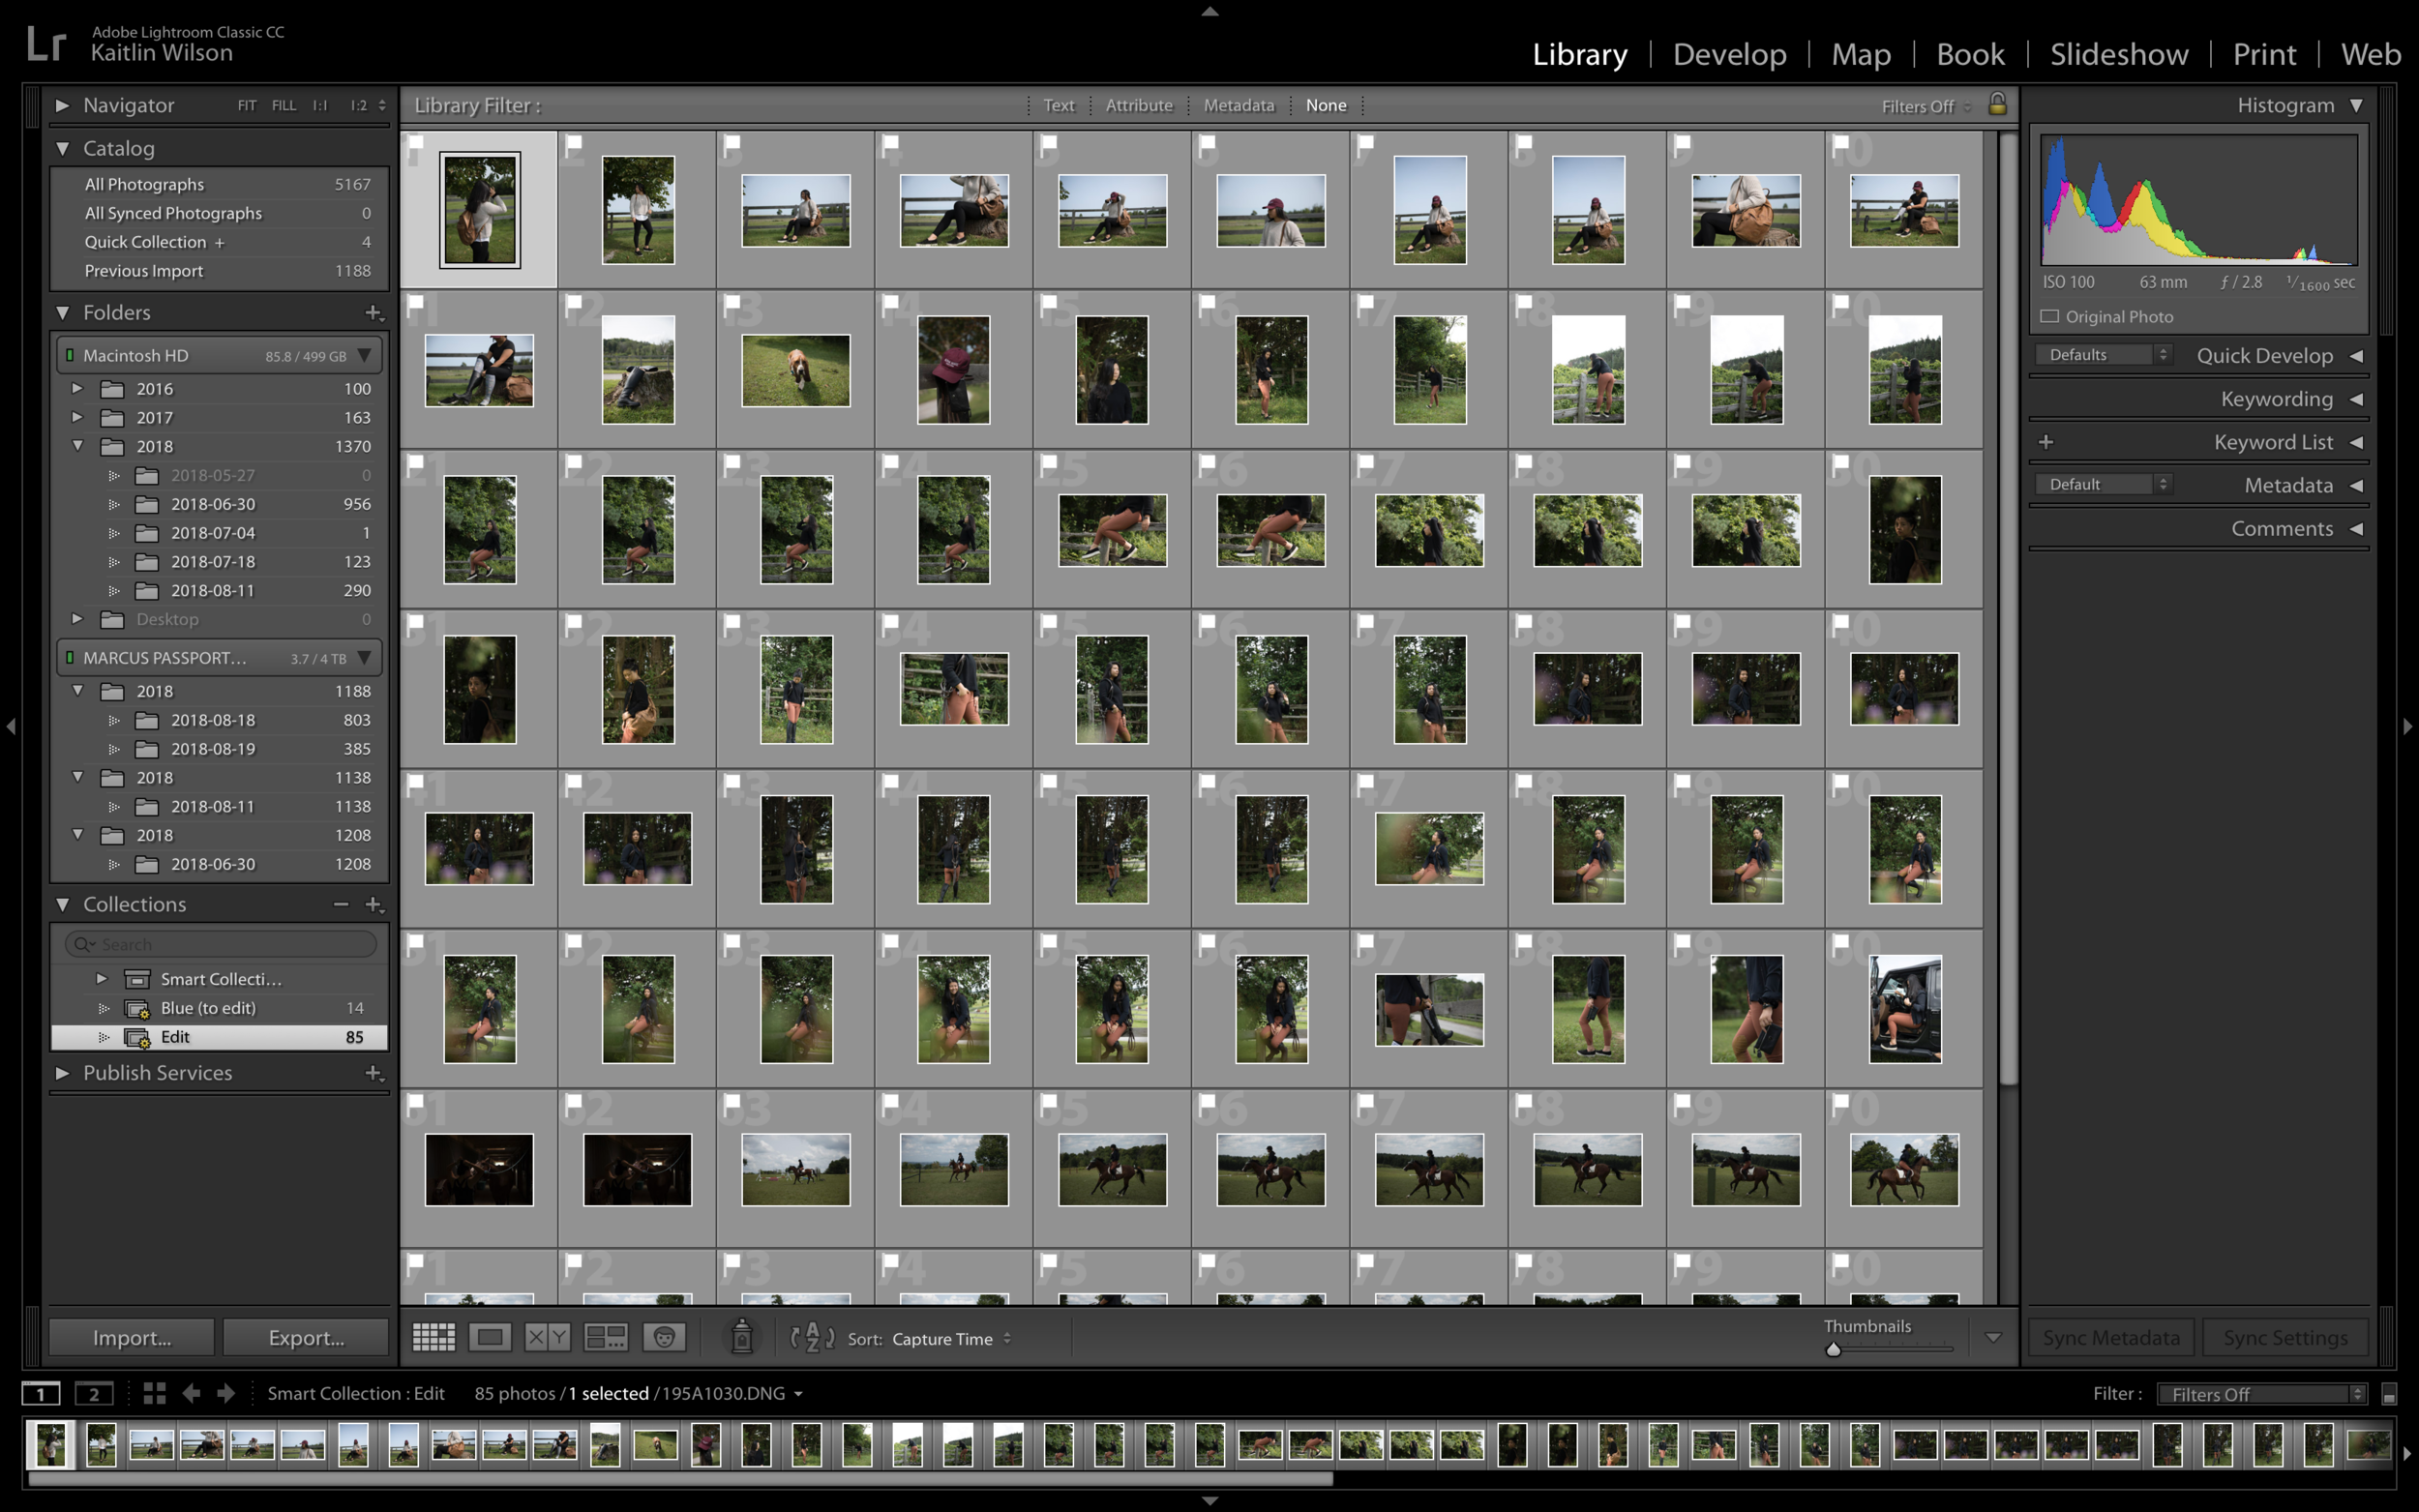
Before I start any editing, I need to import my photos onto my external hard drive. I import them through Adobe LightRoom CC, because I shoot in .RAW LightRoom is the perfect application to convert the files into editable photographs.

Step 2: Sorting
This is one of my favourite steps! Once all the photos are imported and have downloaded into LightRoom, I then start sorting by flagging my favourite photos.
Step 3: Developing
This is the longest step, but also the most fun! Developing and editing photos is when you can let your creativity roam free. Sometimes it can be overwhelming, which is why I decided to make presets. That being said, I still like to have fun and play around with every photo.
If you haven't made presets, I suggest having fun tinkering with all the settings (explore and find your own aesthetic!). To be honest, that's how I made my presets! Once I've sorted through my presets and decided on one I prefer, I always have to make some tweaks with the lighting, HSL, and temperature. As you can see in the photo below, in the "History" dropdown, I chose my "Barn 1.2" preset, but than altered the exposure and contrast. If you have a batch of photos that have similar lighting and scenery, make a preset you like for that set of photos (that's how I make my photos look cohesive when uploaded onto social media!). Presets can be bought, but making your own is part of the fun!
As you can see on my Instagram page, my edits are quite dramatic through the highlights and contrast. I also decrease the saturation, as well as alter yellow, green, and red hues. Everyone has their own style! I encourage you to play around to find a style that fits your aesthetic. It might be hard at first because there are so many settings to play around with, but it is worth putting the time into it. Having presets making editing ten times faster!
LightRoom is great because there are so many settings to play around with, you have a history dropdown menu, and you are able to see "before and after" in different perspectives (below).
I rarely use Photoshop because I'm lazy. But if there are pulls within clothing, random objects in the background, or if I'm feeling ambitious then I'll haul out my mini-mouse and start editing! Photoshop is such a powerful tool when you know how to use it, I highly suggest trying it out and just playing around with it. There are lots of tutorials online for beginners to advance folks wanting to try something new.


